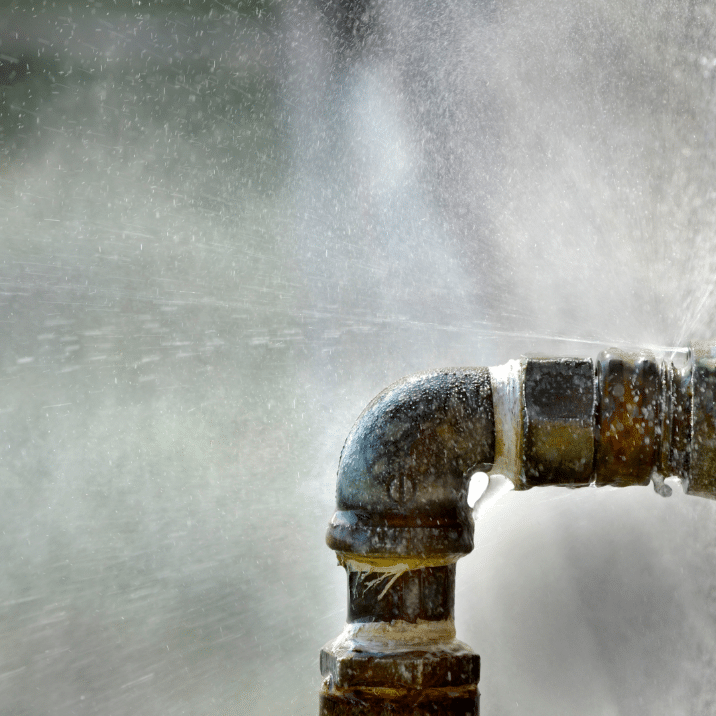
A leaky pipe can be a homeowner’s worst nightmare. The constant drip-drip-drip sound, the potential for water damage, and the impending repair costs can all contribute to a stressful situation. While it is strongly advised to enlist the services of a professional plumber for a thorough resolution of the problem, you have the option to implement temporary measures that can help minimize the extent of damage while you await the plumber’s arrival. In this article, we’ll guide you through addressing a leaky pipe to prevent further damage to your home.
Step 1: Cease Water Flow
The central and pivotal step entails halting the water supply to the affected segment. Identify and deactivate the main shut-off valve corresponding to your water supply, effectively halting the water flow to the leaky pipe. This strategic measure serves a dual purpose: it curtails the risk of further water-related harm. It allows you to attend to the matter before the plumber’s arrival.
Step 2: Gather Your Materials
Before you attempt any temporary fixes, gather the necessary materials. You’ll need:
1. Rubber or Silicone Tape: This tape is designed to create a waterproof sea land that can be wrapped around the leaking area.
2. Pipe Clamps: These metal clamps can help secure a temporary patch.
3. Plastic or Rubber Sheet: This can create a more significant barrier if the leak is more extensive.
Step 3: Apply a Temporary Patch
Once your materials are ready, you can apply a temporary patch to the leak. Follow these steps:
1. Dry the Area: Ensure the pipe is dry before patching. Employ a towel or cloth to absorb any water present in the vicinity of the leak.
2. Wrap with Rubber Tape: Apply rubber or silicone tape around the leak. As you apply the tape, make sure to stretch it snugly while wrapping, guaranteeing comprehensive coverage over the impacted region. This tape will create a temporary waterproof seal.
3. Secure with Pipe Clamps: If the leak is more significant or the tape isn’t enough, place a piece of rubber or plastic sheet over it and secure it using pipe clamps. Tighten the clamps evenly to prevent further leakage.
4. Check for Leaks: Slowly turn the water supply back on and monitor the patched area for any signs of leaking. Should the leakage continue, there might be a necessity to readjust the tape’s position or enhance the clamps’ tightness.
Step 4: Monitor the Situation
After applying the temporary patch, keeping a close eye on the repaired area is essential. While these steps can help minimize damage, they are not permanent solutions. The goal is to prevent further water damage until a professional plumber fixes the pipe adequately.

Step 5: Call a Professional Plumber
When you’ve applied the temporary patch and ensured the situation is under control, it’s time to call a licensed plumber. An experienced plumber possesses the necessary skills and specialized tools to identify the problem and offer a lasting resolution. Don’t delay seeking professional help, as a leaky pipe can worsen over time and lead to more extensive damage.
Step 6: Relieve Pressure
In some cases, a leaky pipe can be caused by excessive pressure in the plumbing system. If you notice the leak is particularly forceful, you can relieve some stress to reduce the strain on the temporary patch. Locate the pressure release valve in your plumbing system and gently release some pressure. This can aid in averting additional harm to the patch and offer respite until the plumber is on-site.
Step 7: Communicate with Your Plumber
As you wait for the Quick-response emergency Plumber to arrive, it’s essential to communicate clearly about the issue. When you call to schedule the appointment, describe the situation in detail, including the steps you’ve taken to address the leak temporarily. This information can help the plumber come prepared with the right tools and materials to fix the issue efficiently. Additionally, if you notice any changes in the leak or the condition of the temporary patch, update the plumber to ensure they completely understand the problem before they arrive.
Conclusion
Coping with a leaky pipe can be demanding and tension-inducing for homeowners. However, taking proactive steps by following the guidelines outlined in this article can help you navigate this plumbing predicament with a sense of control and responsibility.
While these temporary solutions can effectively minimize the immediate damage and provide a brief respite as you await professional assistance, they are by no means a replacement for the expertise of a trained plumber.
Plumbing systems are intricate and require a deep understanding to rectify issues thoroughly. Attempting extensive repairs without the necessary knowledge can exacerbate the problem, leading to further complications and increased costs.
As you patiently await the arrival of the professional plumber, remember to prioritize your safety and that of your home. These temporary fixes should serve as interim measures, and your ultimate focus should be restoring your plumbing system’s integrity. Upon the plumber’s arrival, you can finally exhale a sigh of relief.
Their experience, knowledge, and specialized tools will ensure that the underlying issue is addressed accurately. This not only resolves the immediate leak but also prevents potential future leaks and water damage, restoring your peace of mind.
In summary, while taking immediate action in the face of a leaky pipe is commendable, do so with caution and a clear understanding of your limitations. Embrace these temporary fixes as temporary and make haste in seeking the assistance of a qualified plumber. In taking such measures, you are effectively protecting your property and making a prudent investment in ensuring the enduring functionality and durability of your residence’s plumbing infrastructure.


